Who knew the answer to our design problems would be a cutting board gallery wall!?
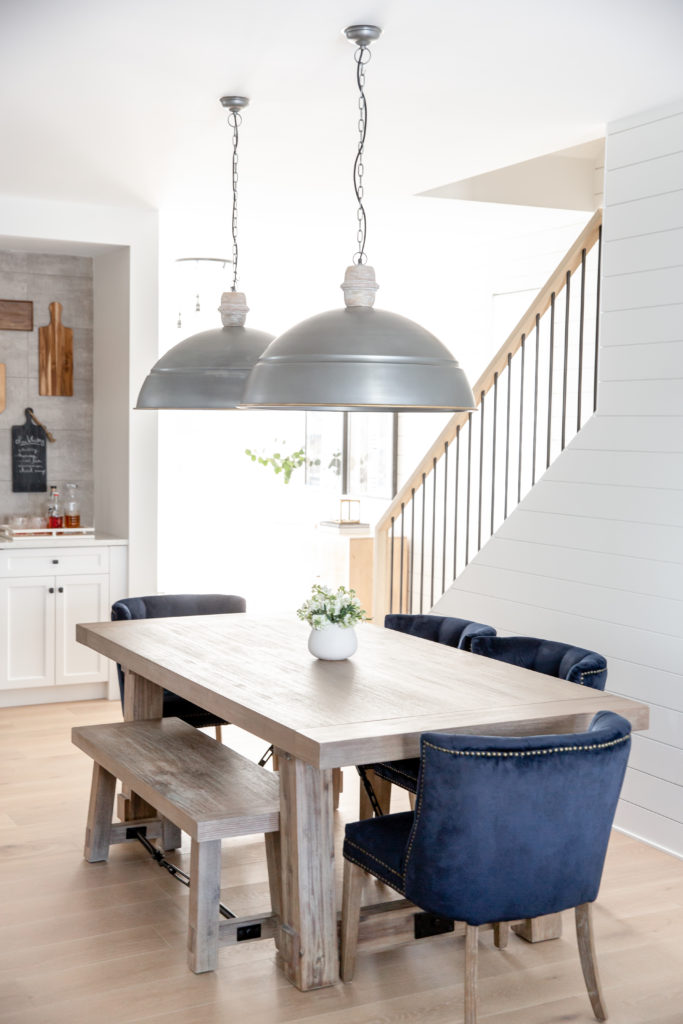
We went back and fourth on what to do with this nook. It’s right in the middle of our open concept kitchen and dining room area. It’s a wall of grey washed tile that sits up above a built in bar and cabinetry space. We searched high and low for the perfect art, but in the end decided that we didn’t want to cover up the tile entirely. So we were at a loss… We wanted whatever it was to blend in nicely with our modern farmhouse feel. We thought about installing open shelving but didn’t want to clutter the nook or drill into the tile. And then it came to us… A cutting board gallery wall!
Gathering Phase
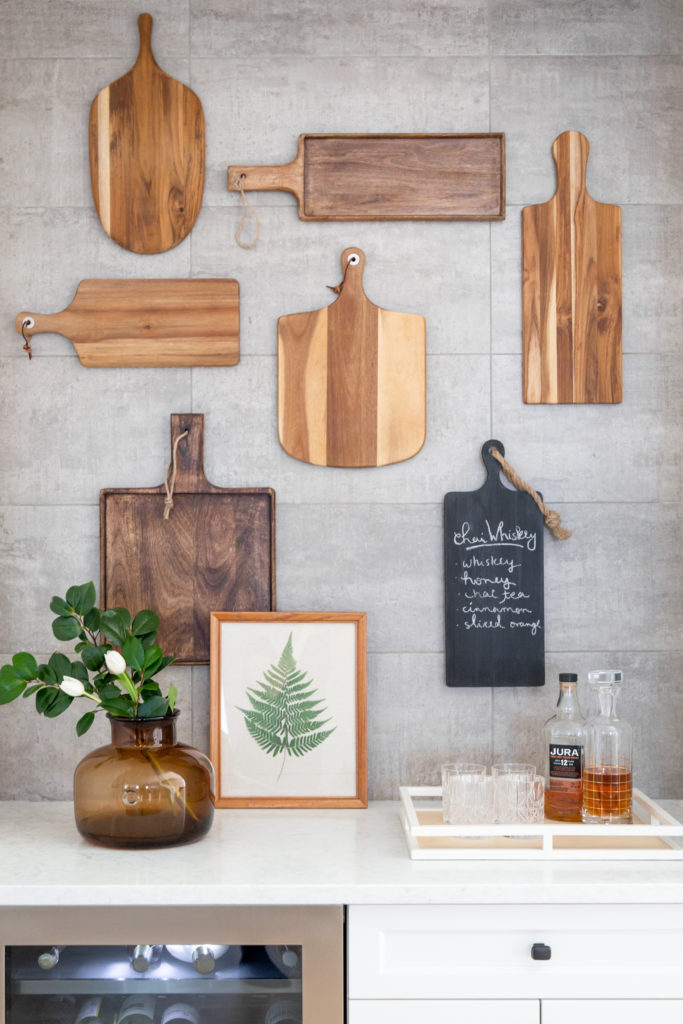
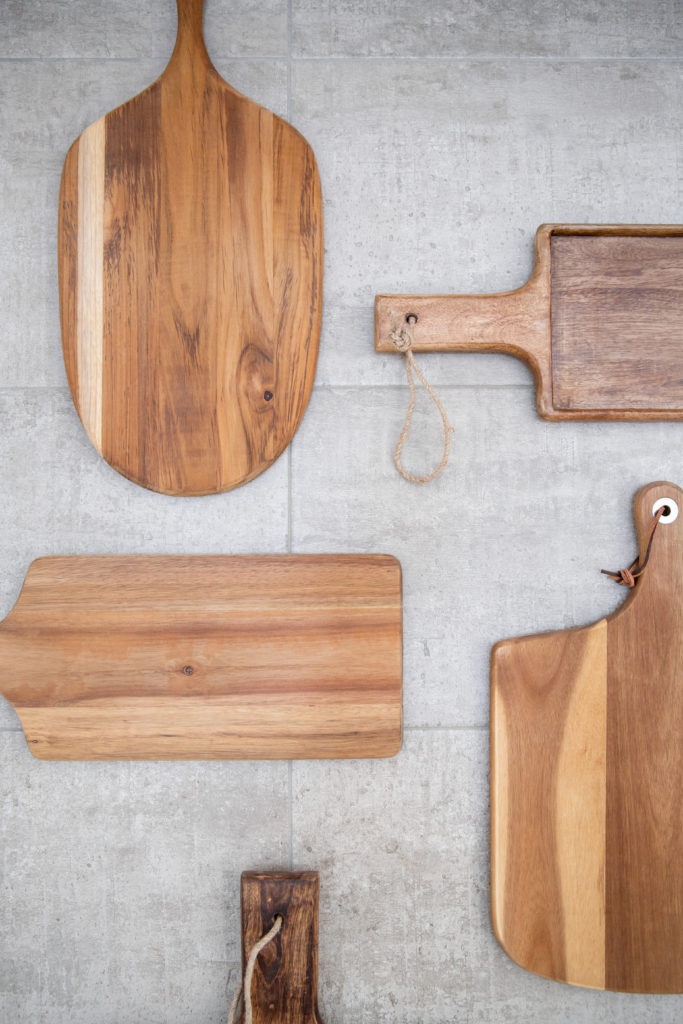
We collected cutting boards of different sizes, shapes, grains and washes. Once we had quite the collection we sourced the other craft essentials. We didn’t want to drill repeatedly into the tile and so we needed another solution. We landed on velcro hanging tape! This stuff worked so well, it really blew us away! We simply stuck two pieces to each board and then lined them up with two pieces on the wall where we wanted the board to be placed – et voila!

Cutting Board Layout Planning
We cleared a space on the ground in front of the nook. We started laying out all the cutting boards until we were happy with an arrangement. For a little variety, we played around with stacking some vertically and horizontally. Once we were pleased with our layout we snapped a picture and got to sticking and stacking them to the tile. We referred back to the picture to see which cutting board to hang next.
Minor Hiccup
Some of the cutting boards wouldn’t adhere to the velcro tape. This was really confusing to us (haha!) but we found a solution relatively quickly. We sanded them down until the velcro strips would stick. A minor hiccup that was fixed pretty easily so don’t panic if this happens to you. All you need is a little extra elbow grease and a piece of sand paper.
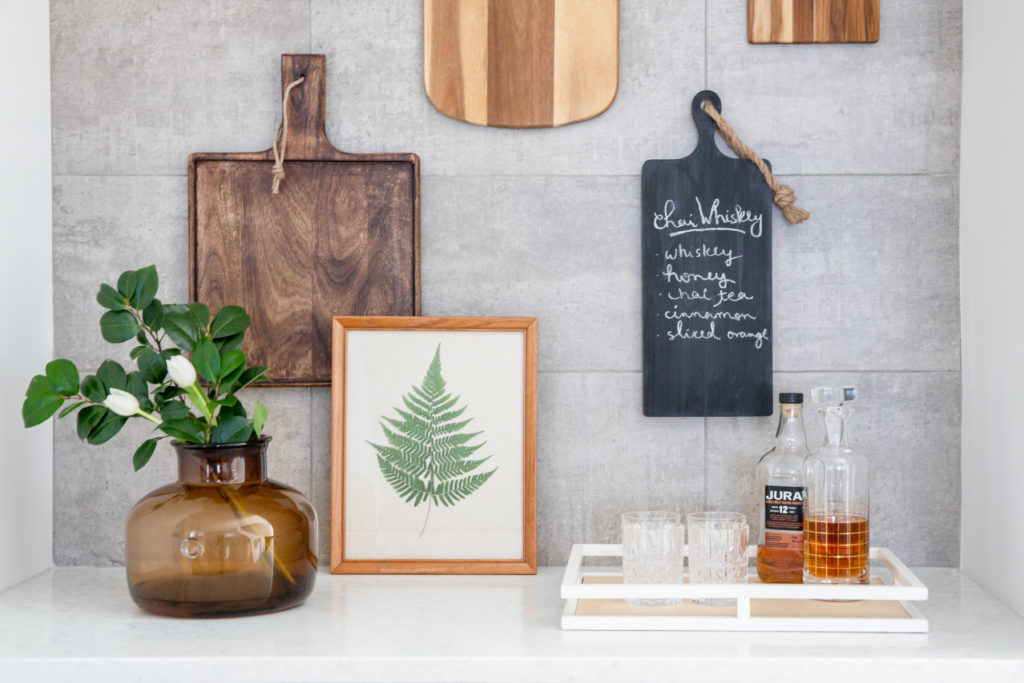
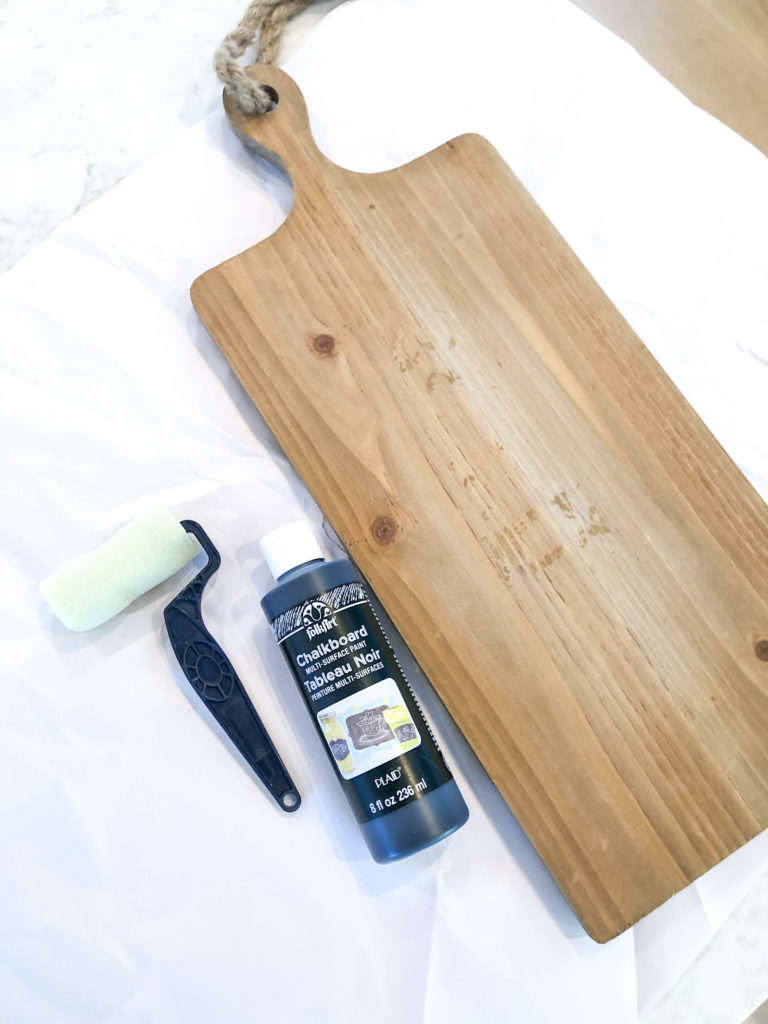
Chalkboard Cutting Board
After collecting all our cutting boards we thought it would be fun to take our crafting a little further. We decided to paint one of them with chalkboard paint and write our current favourite cocktail recipes on. We really liked the extra pop that this added to the gallery wall.
Final Touches
To finish it all off we needed a few accessories. We found a tray from West Elm to group together glasses and a lovely decanter from Home Sense. Lastly, we bought this beautiful large amber vase from H&M home and rested the pressed fern leaf from Calgary’s Plant shop against the wall to hide an outlet.
There you have it! Our lovely cutting board gallery wall in a nut shell. We get so many compliments on this nook. Now that it is all said and done I really can’t imagine anything else in this nook. What would you do here?
Did you enjoy this tutorial? Here is a link to our Coffee Table Styling Guide, check it out next!